Getting started with Google Video Intelligence API using Python
- Erika Agostinelli
- Feb 12, 2021
- 4 min read

Have you ever wanted to search through your video archive and find a specific moment that you remember but you are not sure in which video to find it? Which vacation was it? Which year? 2009 or 2008?
Wouldn't it be great if we could describe what we remember into a search engine?
For this to work, you need your videos to be enriched with many metadata (not just the date and the location): e.g. the transcript of the voice in the video would be helpful. If we could search for signs, text or objects that we remember appearing in the video, this might help us immensely. One of the purposes of the Video Intelligence API is to give you more information on the video so that you can leverage the new metadata to your advantage.
One of my dear colleague, Mara Pometti, pointed me to a project on Youtube “I created an AI-powered video archive for searching family videos” by Dale Markowitz. I was curious to explore this powerful API which enriches your videos’ meta-data to find your favourite videos straight away.
Requirements
Google Cloud Platform (GCP) account – billing needs to be enabled
Enabling the API (Video Intelligence API)
Cloud Storage on GCP
What you will learn:
How to interact with the Video Intelligence API and extract data using Python (specifically Label Detection and Speech Transcription functionality but can be generalized easily)
Some quick visualization on your newly extract data
Language:
- Python
Code Available here on Google Colab.
Set up the environment
You will need to go in your Google Cloud Platform Console and make sure that you have sufficient the permission to enable APIs (i.e. make sure your billing is enabled). If you are interested in the pricing, take a look at the documentation: TLDR, you have the first 1000 minutes free.
Select / Create a project in your console. Next, go to the menu on the left and click on APIs & Services --> Credentials:

In “Service Account”, click on “Manage Service Accounts” and then create a new service account. In this case, you are simply creating a new instance of this service in your project. Follow the instructions and when you need to choose a role, pick “Owner”.
Then, you will need to create a new private Key, which you need to store (download on your local machine) to use later on. I have picked the JSON format.

Upload a sample video
I am going to upload a sample video on Cloud Storage. I decided to take only the first 30 seconds of Vsauce’s “Is Earth Actually Flat?” video as a test. During these 30 seconds, you have many face-close-ups of the narrator and some B-rolls (text and images of the globe).

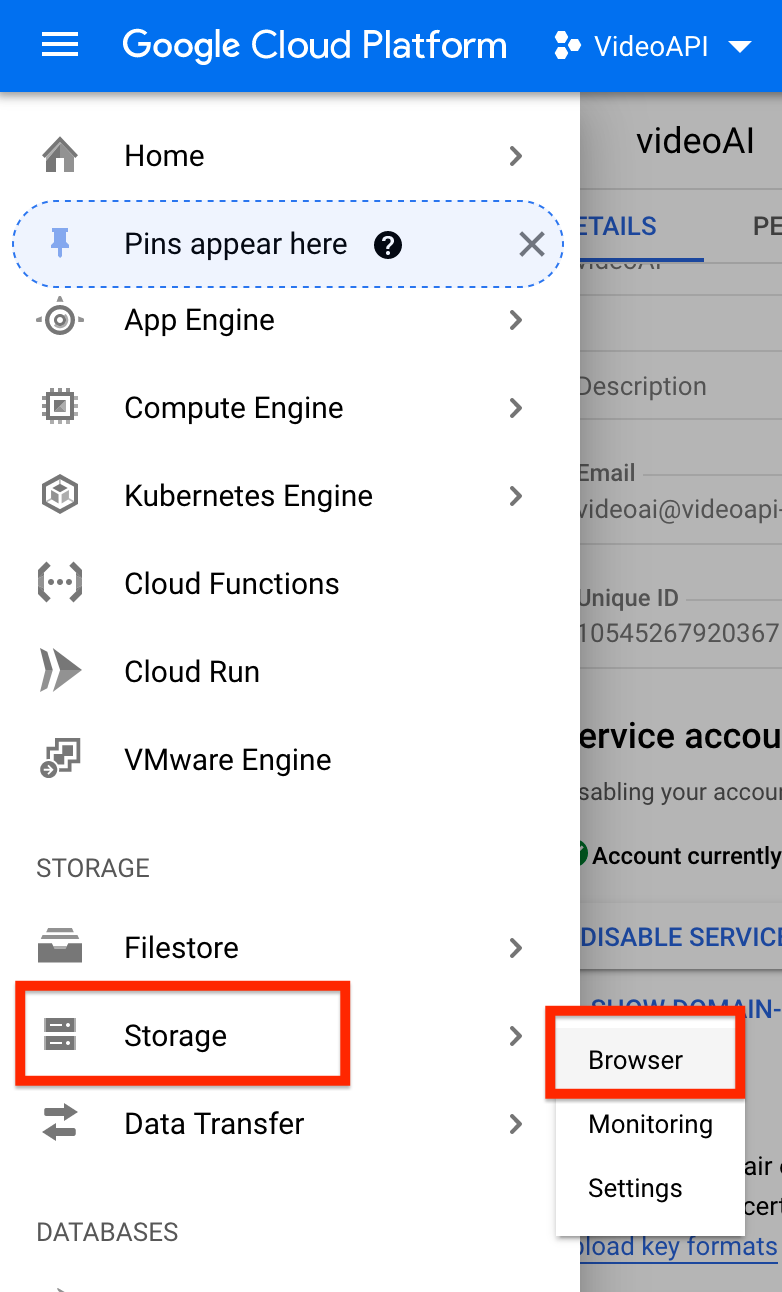
Go to the menu on the left and click on Storageà Browse. If you don’t have a bucket yet, you will need to create one. Click on your bucket first, and then simply upload your video (“upload files”).


Copy the URI link for now.
You are all set to start our exploration. Let’s move on to the code.
Code
To install the library that you need:
pip install --upgrade google-cloud-videointelligenceA. Label Detection Example
Let’s start playing with the label detection first. This code is able to scan the video that we have uploaded using the URI link, detecting objects, labelling them, and then print the results on display. While scanning the results, we collect the data into a Pandas Dataframe to facilitate our exploration later on.
Now our dataframe looks like this:

Each row detects an object and the starting and ending points of screen time + confidence level + the total duration.
With this information, you can choose any type of visualization that you might find interesting for your use case. I, personally, envisioned a visualization that could show me how each object appears and disappears from the screen through the entire duration of the video. I also wanted to add a vertical red line that represents the second that I am interested in. For example: what objects are present at second 6? Thinking ahead, this might be a good dynamic variable for our interactive dashboard.

I know this is a bit out of scope for this blog but I just wanted to mention that the combination of Plotly and Streamlit is pretty powerful. In just a few minutes, you can make this visualization interactive. This is my example:

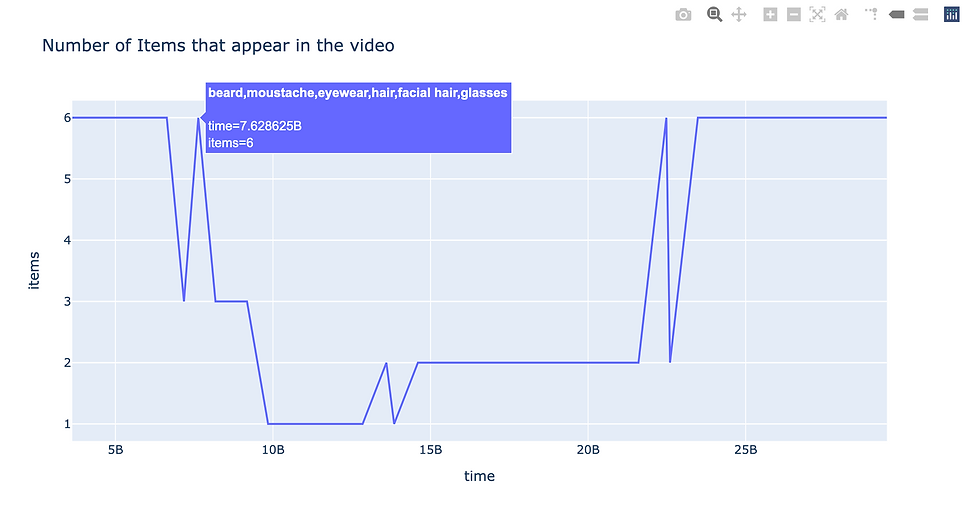
Another way to wrangle the data is the following: we want to count how many objects appear on screen in each moment.
The resample rate is very important: I chose 1 second for this use case but you can choose a wider range. Our data frame now looks like this:

This data frame can be used in the following visualization :
B. Speech Transcription
The API offers the possibility to get the transcription of the voice within the video. This is beneficial if you want to create a video archive: the transcripts would be a cool way to enrich the metadata of the video facilitating the search for the right video (even segment).
The API request is very similar but with an additional param:
Save the results
If you want to Save the results of the call, I recommend to use the `proto` library as follows:
Simple Search function
In addition, I added a very simple function that allows you to find out when a specific word was said. Just remember the clean the input words (punctuation, lower / upper case etc.).
If you make this function interactive in Streamlit, this is how it looks like:

You can find the complete code in this notebook (Not the streamlit dashboard).
Conclusion:
This is not an exhaustive tutorial on all the features of the Google Video Intelligence API. The purpose of this tutorial is to explore some examples and extract the data to create interactive visualization. These then can be easily included in a web app using streamlit, which I highly recommend.


Comments